How to seal the edges of Gypsum Board 8mm Round Hole?
Oct 29, 2025
Leave a message
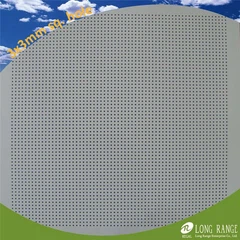
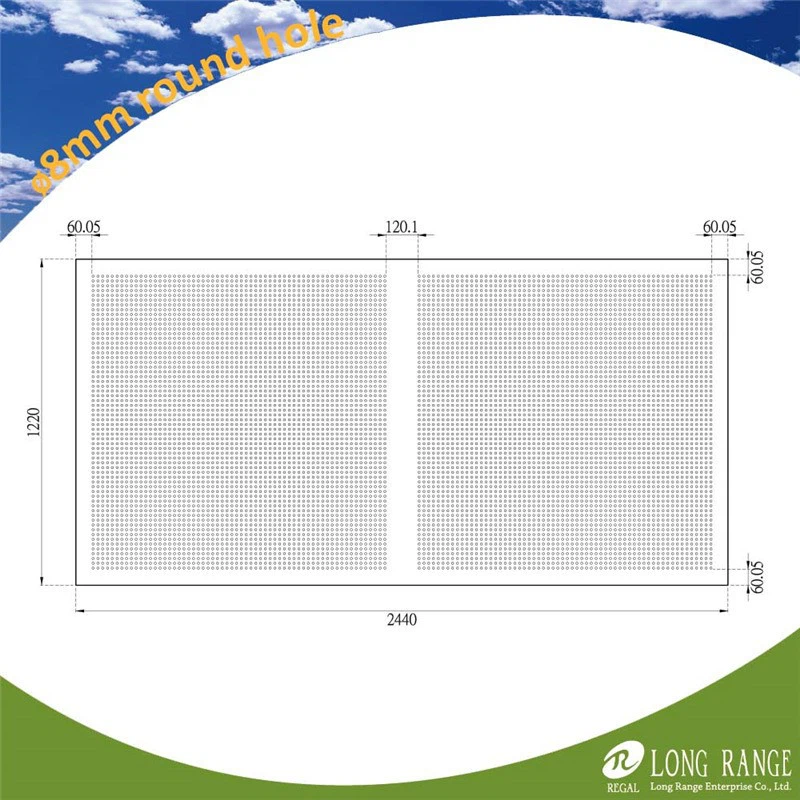
Sealing the edges of 8mm round hole gypsum board is a crucial step in ensuring its durability, aesthetic appeal, and functionality. As a supplier of Gypsum Board 8mm Round Hole Gypsum Board 8mm Round Hole, I have witnessed firsthand the importance of proper edge sealing in various construction and interior design projects. In this blog post, I will share some valuable insights and practical tips on how to seal the edges of 8mm round hole gypsum board effectively.
Understanding the Importance of Edge Sealing
Before delving into the sealing process, it's essential to understand why edge sealing is so important. Gypsum board, also known as drywall or plasterboard, is a popular building material due to its affordability, versatility, and ease of installation. However, the edges of gypsum board are vulnerable to damage, moisture penetration, and dust accumulation. Sealing the edges helps to:
- Protect against moisture: Moisture can cause the gypsum board to swell, warp, and develop mold and mildew. Sealing the edges creates a barrier that prevents moisture from seeping into the board, extending its lifespan and maintaining its structural integrity.
- Enhance durability: The edges of gypsum board are often the first to show signs of wear and tear. Sealing the edges helps to reinforce them, making the board more resistant to impact, scratches, and other forms of damage.
- Improve aesthetics: Sealed edges give the gypsum board a clean, professional look. They also prevent the edges from chipping or cracking, which can detract from the overall appearance of the finished project.
- Reduce dust and debris: Unsealed edges can accumulate dust and debris over time, which can be difficult to clean and may pose a health hazard. Sealing the edges helps to keep the board clean and free of dust, improving indoor air quality.
Choosing the Right Sealing Material
The choice of sealing material depends on several factors, including the type of gypsum board, the application, and the desired finish. Here are some common sealing materials used for gypsum board edges:

- Joint compound: Joint compound, also known as mud, is a popular choice for sealing gypsum board edges. It is a thick, paste-like material that is applied to the joints and edges of the board to create a smooth, seamless finish. Joint compound comes in different types, including all-purpose, lightweight, and setting-type. All-purpose joint compound is suitable for most applications, while lightweight joint compound is easier to work with and dries faster. Setting-type joint compound is ideal for large projects or areas that require a quick drying time.
- Caulk: Caulk is a flexible, rubber-like material that is used to seal gaps and cracks in the gypsum board edges. It is available in different types, including silicone, latex, and polyurethane. Silicone caulk is waterproof and resistant to mold and mildew, making it suitable for areas that are exposed to moisture, such as bathrooms and kitchens. Latex caulk is easy to apply and paintable, making it a popular choice for interior applications. Polyurethane caulk is durable and flexible, making it suitable for areas that are subject to movement, such as around doors and windows.
- Edge tape: Edge tape is a self-adhesive tape that is used to reinforce the edges of the gypsum board. It is available in different types, including paper tape, fiberglass tape, and mesh tape. Paper tape is the most common type of edge tape and is suitable for most applications. Fiberglass tape is stronger and more durable than paper tape, making it ideal for areas that are subject to high stress. Mesh tape is flexible and easy to apply, making it suitable for curved or irregular edges.
Preparing the Edges for Sealing
Before applying the sealing material, it's important to prepare the edges of the gypsum board properly. Here are the steps to follow:
- Clean the edges: Use a clean, dry cloth to remove any dust, dirt, or debris from the edges of the gypsum board. This will ensure that the sealing material adheres properly to the board.
- Sand the edges: Use a fine-grit sandpaper to sand the edges of the gypsum board lightly. This will help to smooth out any rough spots or bumps and create a better surface for the sealing material to adhere to.
- Remove any loose or damaged material: Use a utility knife to remove any loose or damaged material from the edges of the gypsum board. This will ensure that the sealing material is applied to a solid, stable surface.
- Prime the edges (optional): If you are using a joint compound or caulk that requires priming, apply a thin coat of primer to the edges of the gypsum board. This will help to improve the adhesion of the sealing material and prevent it from peeling or cracking.
Sealing the Edges
Once the edges of the gypsum board are prepared, it's time to apply the sealing material. Here are the steps to follow:
- Apply the joint compound or caulk: Use a putty knife or caulking gun to apply the joint compound or caulk to the edges of the gypsum board. Apply the material in a thin, even layer, making sure to fill any gaps or cracks.
- Smooth the surface: Use a putty knife or a trowel to smooth the surface of the joint compound or caulk. This will help to create a smooth, seamless finish.
- Let the material dry: Allow the joint compound or caulk to dry completely according to the manufacturer's instructions. This may take several hours or even days, depending on the type of material and the environmental conditions.
- Sand the surface (optional): Once the joint compound or caulk is dry, use a fine-grit sandpaper to sand the surface lightly. This will help to smooth out any rough spots or bumps and create a better surface for painting or finishing.
- Apply a second coat (optional): If necessary, apply a second coat of joint compound or caulk to the edges of the gypsum board. Repeat the steps above to smooth the surface and let the material dry completely.
Finishing the Edges
After the sealing material is dry, it's time to finish the edges of the gypsum board. Here are some common finishing options:
- Painting: Painting the edges of the gypsum board is a popular way to finish them. Choose a paint that is suitable for the type of surface and the application. Apply the paint in thin, even coats, making sure to cover the edges completely.
- Wallpaper: Wallpapering the edges of the gypsum board is another option for finishing them. Choose a wallpaper that is suitable for the type of surface and the application. Apply the wallpaper according to the manufacturer's instructions, making sure to smooth out any wrinkles or bubbles.
- Molding: Adding molding to the edges of the gypsum board is a great way to add a decorative touch. Choose a molding that is suitable for the style and design of the room. Install the molding using nails or adhesive, making sure to align it properly with the edges of the board.
Conclusion
Sealing the edges of 8mm round hole gypsum board is an important step in ensuring its durability, aesthetic appeal, and functionality. By choosing the right sealing material, preparing the edges properly, and applying the material correctly, you can achieve a professional-looking finish that will last for years to come. If you have any questions or need further assistance with sealing the edges of your gypsum board, please don't hesitate to contact us. We are a leading supplier of Gypsum Board 8mm Round Hole Gypsum Board 8mm Round Hole and are committed to providing our customers with the highest quality products and services. We look forward to working with you on your next project.
References
- "Gypsum Board Installation Guide." National Gypsum Company, 2023.
- "Sealing and Finishing Gypsum Board Edges." Building Construction Magazine, 2022.
- "How to Seal Gypsum Board Edges." DIY Network, 2021.
Send Inquiry